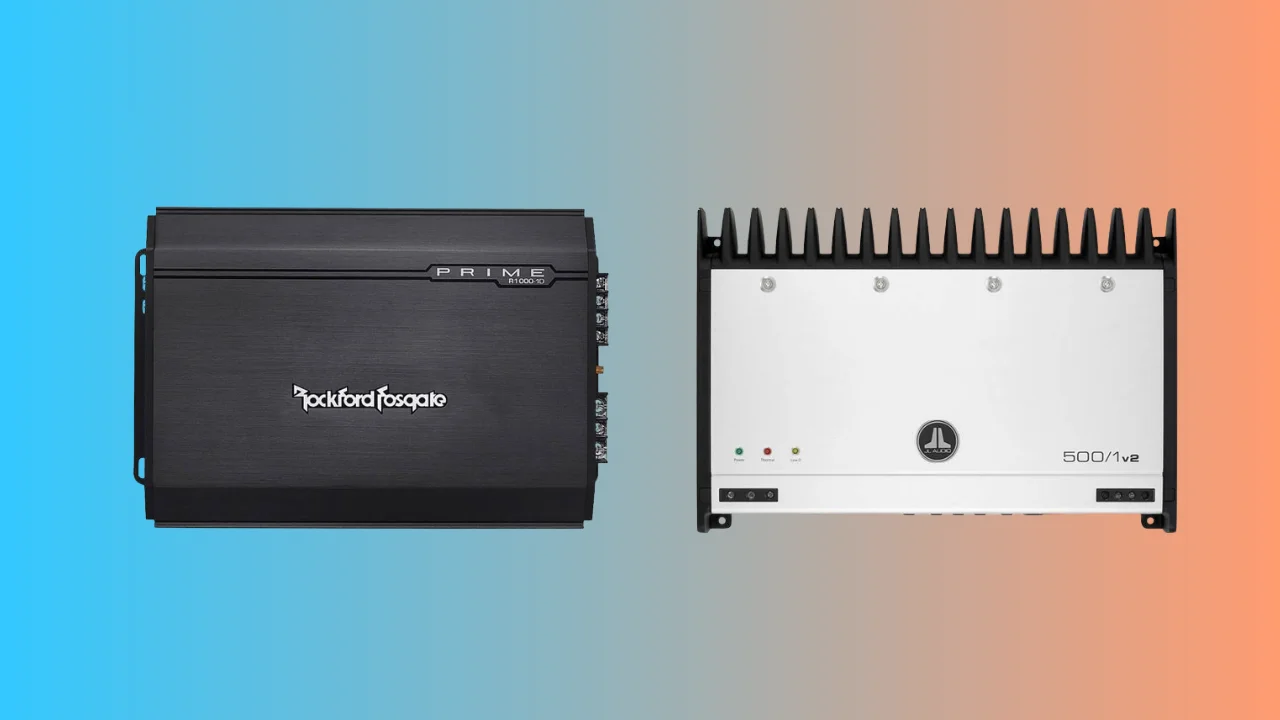
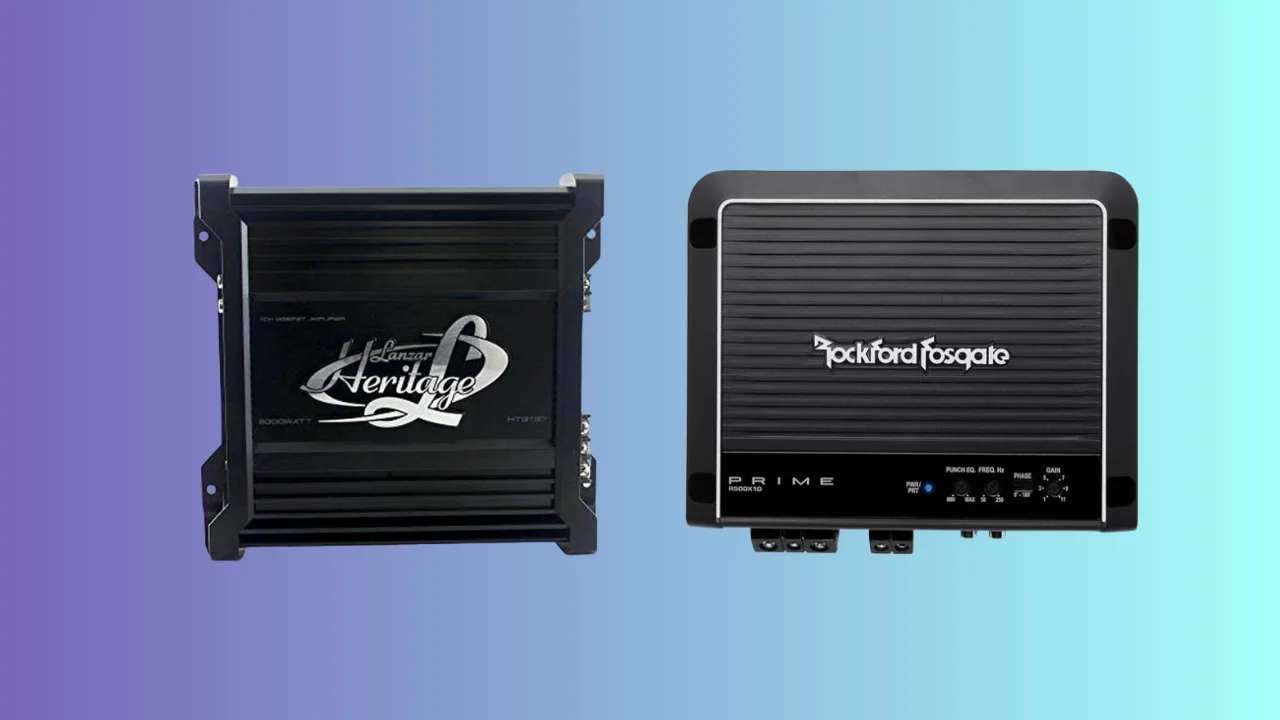
Audio lovers crave deep, resonating bass that breathes life into their favourite tracks. As a seasoned professional audio expert, I understand how important it is to achieve optimal sound quality in every aspect of my life. In any sound system, subwoofers ensure that the music truly resonates with that unmistakable thump and rumble. Your car audio system can be improved by adding a powered subwoofer.
Although factory stereos provide superior sound quality, they have come a long way, but still lack the low-end punch that we crave. That’s where a powered subwoofer comes into play. These compact powerhouses integrate an amplifier and subwoofer in one sleek package, giving a boost to your car’s audio prowess.
You need some basic car audio skills to add a powered subwoofer, and even sometimes, professionals can’t do the installation properly due to a lack of information. So If you are a Car audio enthusiast and music aficionado and don’t know properly how to install a powered subwoofer to a factory stereo, then today, team fab-audio visual will tell you step by step in illuminating guide that will take your driving experience to a whole new level!
Steps For Properly Installing Powered Subwoofer To Factory Stereo
Today, we will embark on a journey to demystify the process of installing a powered subwoofer to your factory stereo through each step with precision and clarity. We’ll address common challenges, offer expert tips, and ensure that you sail through the installation process of powered subwoofers with confidence.
What You Need
You need the following tools for successful installation:
- Powered subwoofer with built-in amplifier
- Speaker Wire
- Wiring kit (includes power cable, ground cable, remote turn-on wire, and RCA cables)
- Screwdriver set
- Right-sized fuse
- Power wire
- Line output converter (if your factory stereo doesn’t have RCA outputs)
- Wire stripper/crimper tool
- Panel removal tools (optional but helpful)
Choose a Suitable Location
First, you have to Identify the best location for your powered subwoofer to place it in your vehicle. It should be secure and out of the way to avoid interference with passengers and cargo. Common locations include the trunk or under the seats, but as heat is generated by the subwoofer’s built-in amplifier so, check for ventilation at the place before installation.
Disable The Battery Connection

First, you must disconnect the battery connection, which will protect you by preventing accidental sparks or shorts while you are assisting with your car’s electrical system. It is advisable to disconnect your car battery’s negative terminal during installation for safety reasons.
Remove the Factory Stereo
For this purpose, use the appropriate panel removal tools or screwdriver set, which you can use to carefully remove the trim panels surrounding the factory stereo. Once exposed, unscrew and carefully pull out the stereo from the dash. Based on your car’s model, specific instructions may be found in its manual or online.
Connect the Line Output Converter (LOC) (If Needed)
If you will not find any RCA outputs on your factory stereo, you have to use a Line Output Converter (LOC) to convert speaker-level outputs to RCA signals for the subwoofer. So you have to connect speaker wires from Stereo > to > LOC, and then from LOC to input, you have to connect RCA cables on the powered subwoofer.
Run Power Cable to Battery
Now you need to Run the power cable from the powered subwoofer’s amplifier to your car battery. You have to use appropriate grommets or wire looms to protect the power cable. Use appropriate grommets or wire loom to protect the power cable where it passes through the firewall to the engine compartment. Now go to the battery-positive terminal and connect a power cable there.
Ground the Subwoofer
Now you have to find a suitable grounding point near the amplifier (usually a metal bolt or screw connected to the vehicle’s chassis). From the grounding point, you have to Scrape off any paint or debris; now, you have to connect the ground cable from the powered subwoofer’s amplifier to this point.
Connect Remote Turn-On Wire
Now you have to connect the remote turn-on wire from the powered subwoofer’s amplifier to a switched 12V power source. So as a result, this wire signals the amplifier to turn on when the car’s ignition is On.
Connect the Subwoofer to Stereo
If your powered subwoofer has high-level (speaker-level) inputs, you can connect the speaker wires from the stereo directly to the subwoofer. Otherwise, you have to use the RCA cables to make a connection from the subwoofer to the RCA outputs of the LOC or the factory stereo (if it has RCA outputs).
Secure the Subwoofer
To prevent movement while driving, you have to properly secure the powered subwoofer in its chosen location.
Reassemble Everything
Putting the factory stereo back into the dash is the next step, and also reattaching all the trim panels you removed earlier.
Reconnect the Car Battery
Finally, you just have to reconnect the negative terminal of your car battery.
Test the Subwoofer
So after following all the steps, I will recommend you to turn On your car stereo and test the powered subwoofer to check whether everything is working properly or not.
In A Nutshell
So after installing a powered subwoofer to the factory stereo, you will get high-end quality sound with great bass effects. From the first step to the last step, you have to properly follow all instructions.


