You have made a good decision of installing ceiling speakers in your place, as they provide better sound quality and flexible positioning opportunities. In today’s audiophile world, ceiling speakers are popular as they provide good coverage, so no matter where you move in your home, the sound will follow you like a shadow.
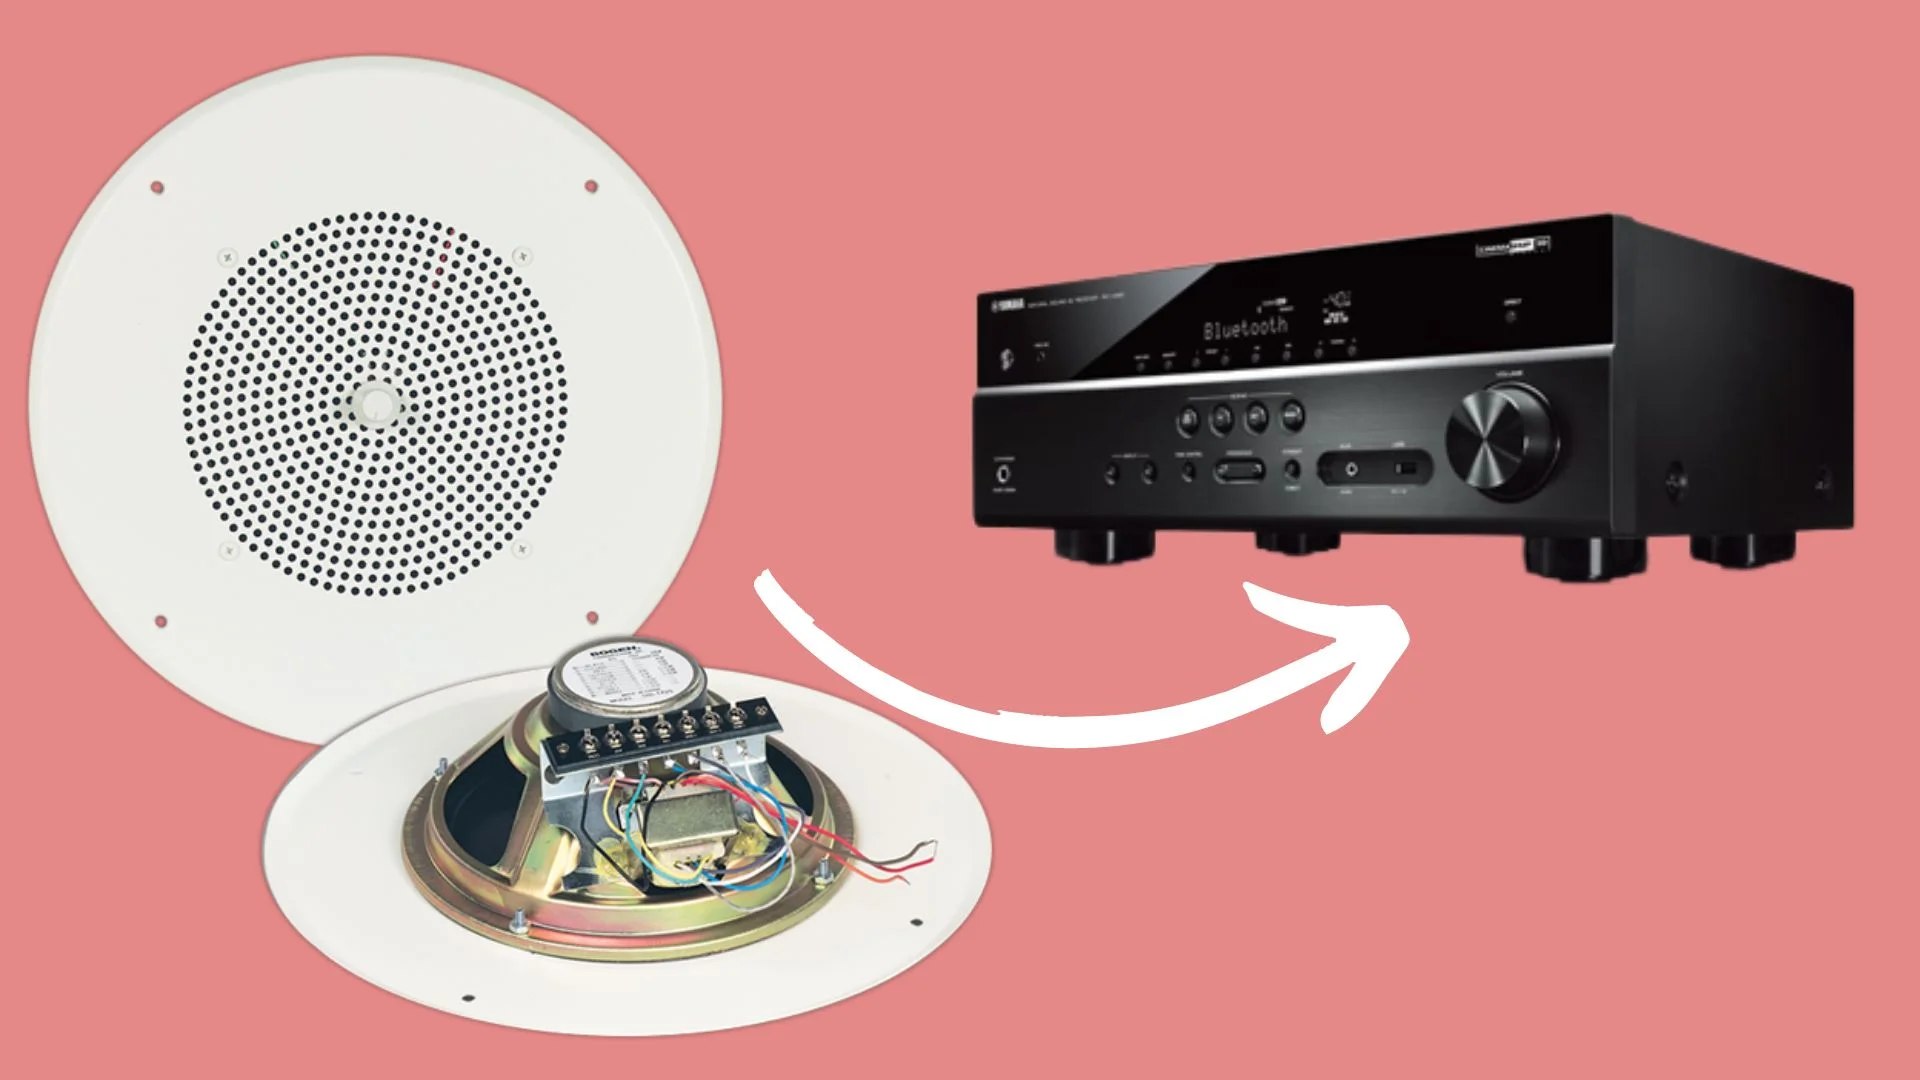
Many audiophiles didn’t know the correct procedure about how to connect ceiling speakers to receivers which made them in trouble. So if you have passive ceiling speakers and want to connect them with your receiver to give power to them to produce sound, we will tell you the procedure.
Note: Setup before you begin; ensure you have read the manuals of your receiver and ceiling speakers to gain a deeper understanding of their requirements and compatibility.
Procedure To Connect Ceiling Speakers To Receiver
The connection of ceiling speakers to receivers is similar to that of any other kind of speaker, so let’s get started. You can follow the steps if you are already installed and placing your ceiling speakers to a location on the ceiling. Long wires look Un-beautiful and result in long connections, so to avoid them, you have to place your receiver near to ceiling speakers.
Turn Off Electricity
Please, you have to turn off the power (electricity) before connecting wires to your receiver and check for electrical signals which should not go through wires. The rubber gloves can also be worn if you so desire.
Wires
When connecting ceiling speakers to any receiver, the negative and positive wires are typically colored black and red, respectively. Now you have to strip the ends of wires. After doing that, wires will usually be prepared for proper connection with receiver socket type wiring connection. Wire stripping can be done with wire cutters or plain scissors to remove Polyvinyl Chloride (PVC) insulation material on wire up to 2.3 Inches. After that, you have to tightly strip wire steaps together.
Note: Don’t attach red and black wires to each other, and bend them until a Y-shape is formed.
Make Connection
Now you have to match the polarities (Positive and Negative) between the ceiling speaker and your receiver. For this, you have to Connect a Red Color Wire to the terminal Red Socket and Black Wire to the terminal black socket.
After connecting the wires of the speakers to the receiver corresponding colored sockets, you have to lock them. You can use the built-in locking system to lock wires properly. Check wires are latched and do not get out after minimal pulling. You can use tape or clips to properly cover wires for a better-looking appeal.

Turn On System
After following all steps adequately, now it’s time to turn on and plug your ceiling speakers and receiver. Now set settings to your liking and test the ceiling speaker by playing your loveable music file. So, after property learning connecting ceiling speakers to receivers, there’s a reduced risk of damaging the ceiling speaker or receiver if you make an error.

Follow These Considerations Before Connecting Ceiling Speakers with Receiver
Several factors are essential for consideration to ensure a successful and enjoyable audio experience, so check them below:
Ceiling Speaker Compatibility
As I have already mentioned, you always have to ensure the ceiling speakers you intend to install are compatible with your receiver. The two specifications you have match with your receiver, which are the speaker’s power rating (wattage) and impedance. If you use ceiling speakers with the wrong specifications can lead to sound distortion or equipment damage.
Ceiling Space and Placement
Before Installing ceiling speakers, the Fab-Audio Visual team will recommend you to consider the layout and dimensions of your room or location where you are planning to install ceiling speakers. Only an ideal location is preferable for optimal audio distribution and coverage. Aspects to consider like room size, ceiling height, or potential obstructions that possibly affect sound dispersion.
Wiring Guide
Plan the wiring for your ceiling speakers carefully. There will be a need to run speaker cables from the receiver to each ceiling speaker location so both devices are placed near to each other. Make sure the cable length is adequate and to maintain audio quality and minimize signal loss, a suitable gauge should be used.
Speaker Positioning
You have to aim to position your ceiling speakers in a way that covers the entire room with a balanced sound. I will guide you to avoid placing them too close to walls or corners; uneven sound distribution can result from this.
In-Ceiling Enclosures
You can consider using in-ceiling speaker enclosures or back boxes, so with these enclosures, you will improve sound isolation, and they will prevent sound leakage into other areas of the home.
Speaker Grilles
If you wish, you can paint your ceiling speaker’s grilles to match your ceiling’s color. For ease of painting, see if the grilles can be easily removed and reattached without affecting sound quality.
Amplification
Check your receiver’s channel count, which must be enough to power ceiling speakers; otherwise, the need of external amplifiers may be required to drive speakers.
Topic: Did you know having under seat subwoofer with built in amp are much beneficial for any car audio?
Speaker Wire Management
Prepare your ceiling speaker wiring plan behind the ceiling. My recommendation is to use wire clips, tape, cable management solutions, or conduit, which will help you for keeping the wires organized and protect yourself from potential harm.
Zone Control
The most home audio setup comes with multiple zones, which anyone can utilize for better-controlling ceiling speakers separately in different areas, and you can also utilize them to integrate them into a single audio zone.
Acoustic Treatment
The consideration of acoustic treatments is to increase room sound quality like you can add carpets and drapes or do treatment of walls for better reducing sound reflections and audio enhancements.
Benefits Of Installing Ceiling Speakers
The benefits of installing ceiling speakers are numerous, both for residential and commercial settings.
Space-saving and discreet
By using the ceiling speakers, the need for large floor-standing or wall-mounted speakers is eliminated as they are mounted flush with the ceiling, so your floor space will be saved. The unobtrusive look of ceiling speakers blends seamlessly with the room’s design. Ceiling speakers are inconspicuous and don’t disrupt the room’s decor.
Distributed audio
In a space with multiple ceiling speakers installed, they can provide even audio coverage, eliminating dead zones and ensuring that sound is evenly distributed better for large rooms and open-plan living areas.
Easy installation
You can easily install ceiling speakers, especially if you have a drop ceiling with accessible space above. You can check templates and mounting brackets that come with ceiling speaker models to simplify the installation process.
Safety and reduced clutter
Since ceiling speakers are mounted above ground level, they are less prone to accidental damage or being knocked over. In addition, their installation is less cluttered and causes fewer trips compared to floor-standing speakers.
Child and pet-friendly
Children and pets can’t mess with ceiling speakers or accidentally damage them with curious curiosity. As a result, ceiling speakers offer a stylish and space-saving alternative to traditional speakers.
Frequently Asked Questions
Can I connect ceiling speakers to the receiver using regular speaker cables?
Yes, you can use speaker wires that have the capability of handling 70-volt or 100-volt (voltage system) to feed ceiling speakers properly. You can also use smaller gauge wires to make connections between the receiver and ceiling speaker, which have bypassed the transformer. For ceiling speaker connection use, ensure the wire is 16 AWG thick and CL2 rated.
How to connect wireless ceiling speakers to receiver
In order to connect your ceiling speakers Wirelessly, you will need a wireless receiver or amp that you can connect your wireless ceiling speaker to.
Here are the steps:
- Connect the wireless receiver/amp to your network
- Now pair your ceiling speaker to your wireless receiver
- Power On both ceiling speakers and receiver
- Go to a receiver and select inputs
- Start to enjoy music
Ceiling speakers most commonly use wireless protocols are:
- Wi-Fi
- Bluetooth
- SonosNet
- DTS Play-Fi
- AirPlay 2
Can I connect the ceiling speakers to an amplifier instead of a receiver?
Instead of a receiver, you can connect and power your ceiling speakers with an amplifier. You just have to ensure that the amplifier speaker outputs should match the ceiling speakers' impedance. Once you have connected your ceiling speakers to your amplifier, you are allowed to make volume adjustments; tone controls on the amp to get super sound quality.
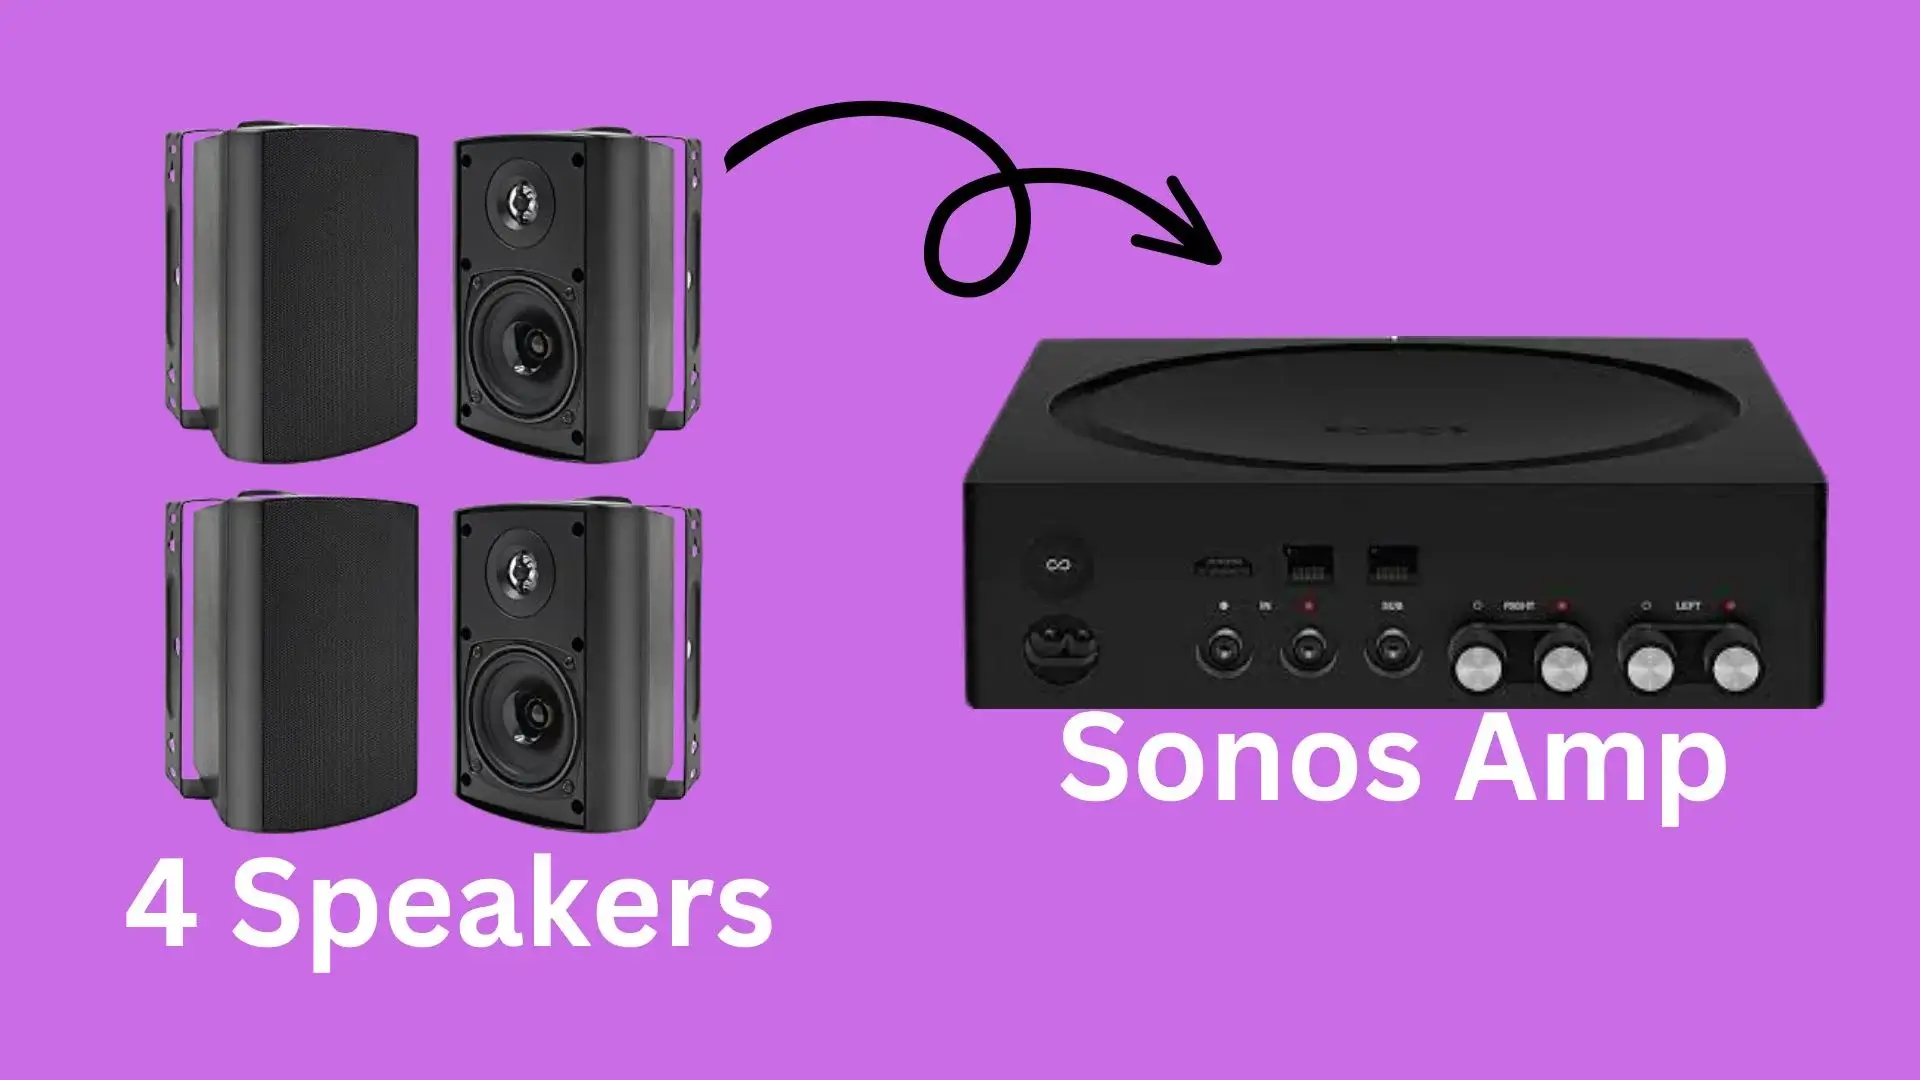
How many ceiling speakers do I need for a surround sound setup?
To create a surround sound system, you must decide which type of surround sound system you want and how many ceiling speakers you need.
5.1 surround sound: Among surround sound systems, 5.1 is the most common and consists of five speakers: Two Front Speakers, One Center Speaker, and Two surround speakers. In order for 5.1 speakers to be used, at least four ceiling speakers must be installed.
7.1 surround sound: An addition of two surround speakers to the previous 5.1 surround sound system, so at least six ceiling speakers for a 7.1 surround sound system.
For 9.1 Surround sound, the addition of two speakers to a 7.1 system will add, and you will need a minimum of eight ceiling speakers for a 9.1 surround sound system.
Do I need a separate power source for the ceiling speakers?
The separate power source only requires for passive ceiling speakers (it does not have a built-in amp), so for powering them external amplifier to receive required, which takes an audio signal from your source device, such as a receiver, and amplifies for speakers to play it.